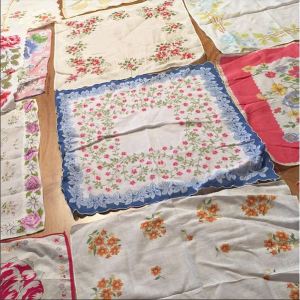
Do you have a collection of vintage hankies and you aren’t quite sure what to do with them?
Maybe they’ve been sitting in a basket because you hate the thought of cutting them? It’s almost like making that first cut into a pretty birthday cake.
As I was working on a custom Mother’s Day hankie quilt this week {and sharing pictures on Instagram} …. so many of you asked for more details so you could make your own.
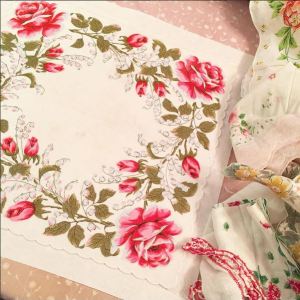
 Hankerchiefs are so beautiful and most of them hold great family memories ……… so as I was planning this quilt …. it made me cringe a little at the thought of losing the fun eges on these pieces.
Guess what?
You don’t have to.
 Hankerchief Quilt Instructions:
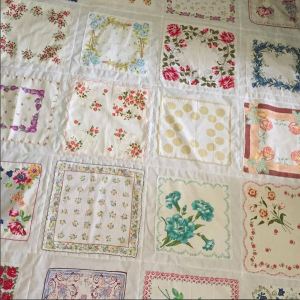
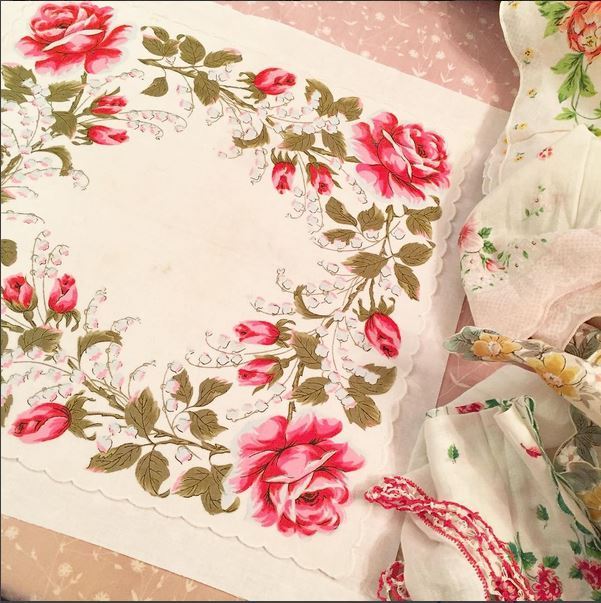
♥ Choose 20 of your favorite hankies. Have fun …. mix them up.
♥ Find your largest piece and measure it. Mine largest was 14″ square.
♥ Cut 20 white squares 1″ bigger than your largest hankie. {I cut mine 15″ square.} That will create the uniformity for piecing.
♥ For each square …… spray baste the hankie to your white fabric square and top stitch around the outer edge.
♥ After all 20 squares are made …. stitch them together 4 in a row, until you have 5 rows.
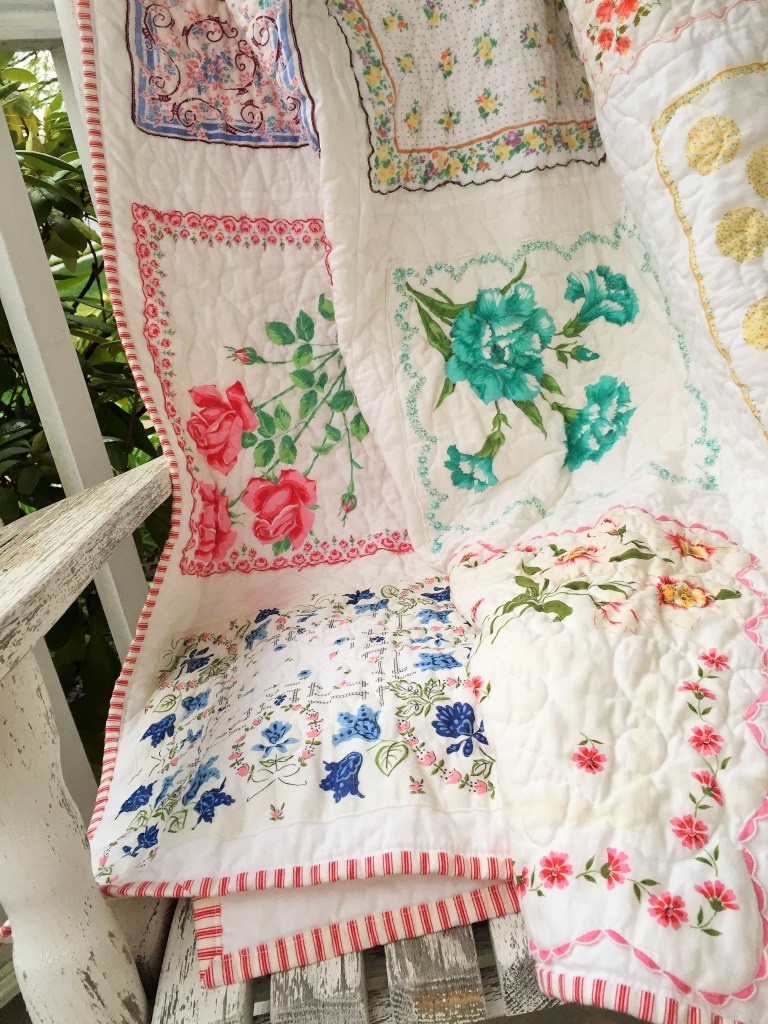
My quilted ended up measuring about 58″ x 71″. Perfect lap size quilt right?
You can sew together as many or as few squares as you like. Don’t be afraid to make your quilt top wider or longer. This is only a guideline to help you get started.
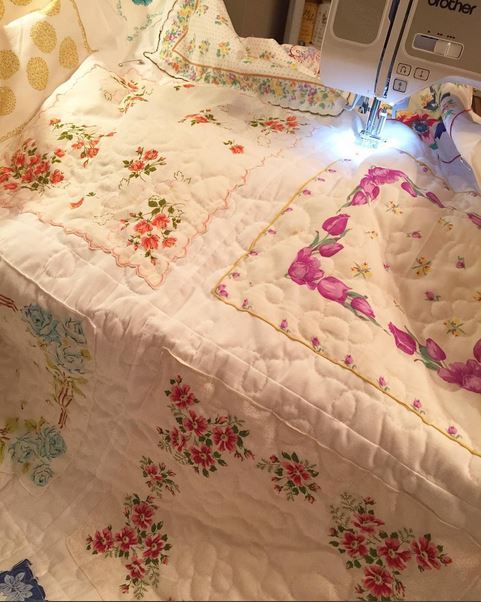
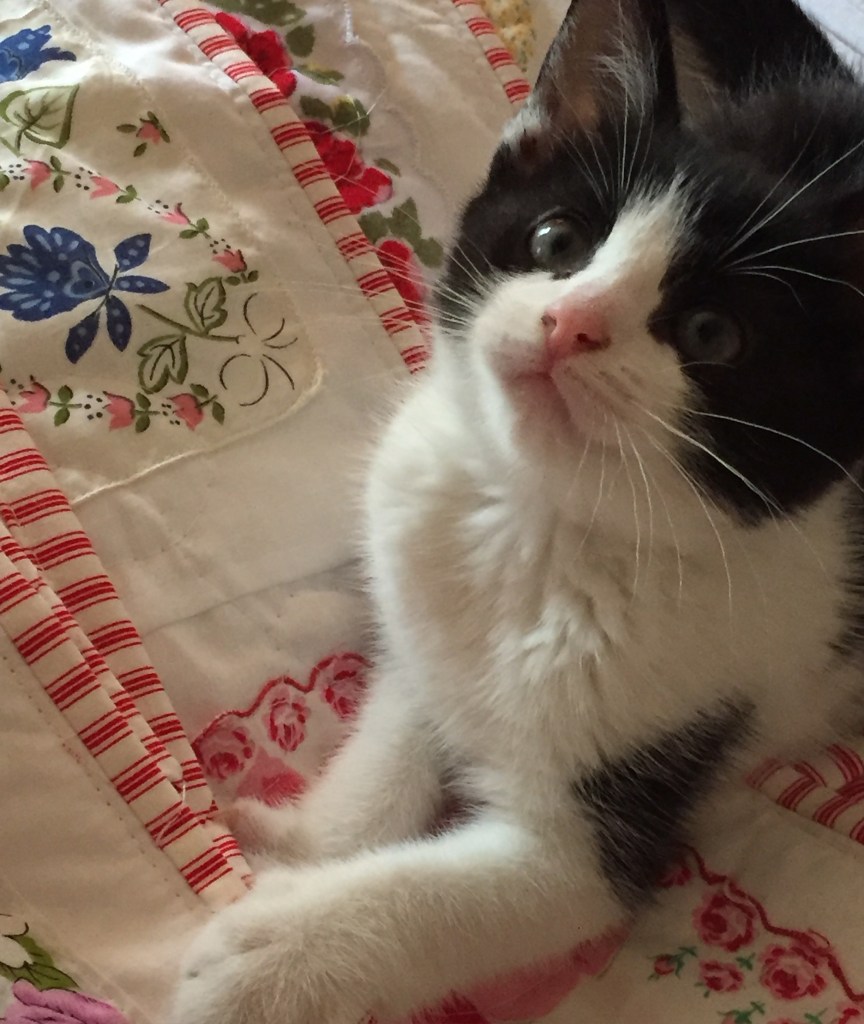
I quilted right over the tops of the hankies ….. it really helped to blend them all together into one beautiful quilty piece.
 Simple & sweet right? Now it’s your turn …..